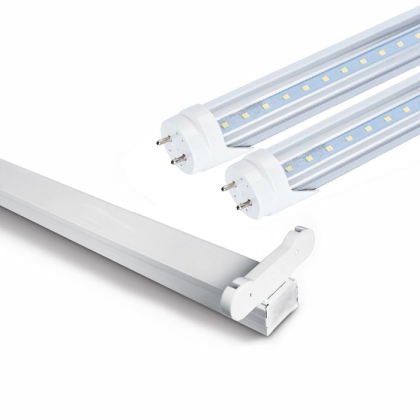
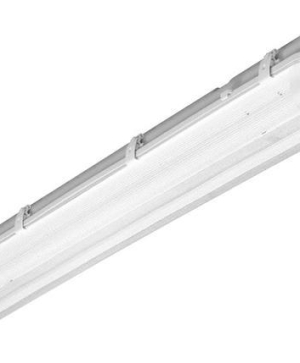
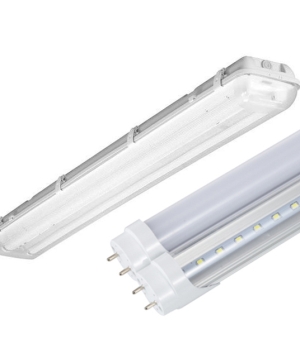
2 LED tubes plastic T8 1200mm, 18W and Batten fitting 2x120cm
-
Code:k-pura-150-2-shina
Wattage:18W
Color temperature:4000-4500К
Luminous flux:80-90lm/W
Power:Double ended
Diffuser:Matte
Voltage:AC220-230V
CRI:>80 Ra
Beam angle:360°
Dimension:1200mmх25mm
Beam angle:IP20
Color:White
Material:Metal
IP rating:IP20
Socket:G13
Dimension:1225/45/160
Quick Buy



Why choose us?
Extended warranty period
All the products we manufacture come with a legal guarantee of at least 2 years. The standard warranty for LED raster ceiling panels, industrial LED bells, LED tubes, most LED spotlights and recessed lighting is 3 years, and for many products we offer an option to extend the warranty to 5 years.
We value our customers
As a registered user in our online store, you collect bonus points with every order placed. Accumulated points are automatically converted into a discount on the price of your next order with us. Check out our loyalty program.
Free or discounted shipping
For all orders over BGN 120, we deliver free of charge to the city of Sofia. In the rest of the country, our customers use the preferential delivery prices of the courier companies we work with.
14 day return period
You can return a product purchased from us up to 14 days after you received it if it does not meet your expectations (the product must not be damaged in appearance and packaging).
Transparent relations
We keep everything transparent in our dealings, so we always inform you in advance about everything related to your order and about our every action, so that you are aware of what, how and when it is happening and what to expect.
Documents
We issue all necessary documents for the offered goods - accounting and technical.
Complaints without costs
In the event of a claim, all transport costs are at the expense of the Dianid company.
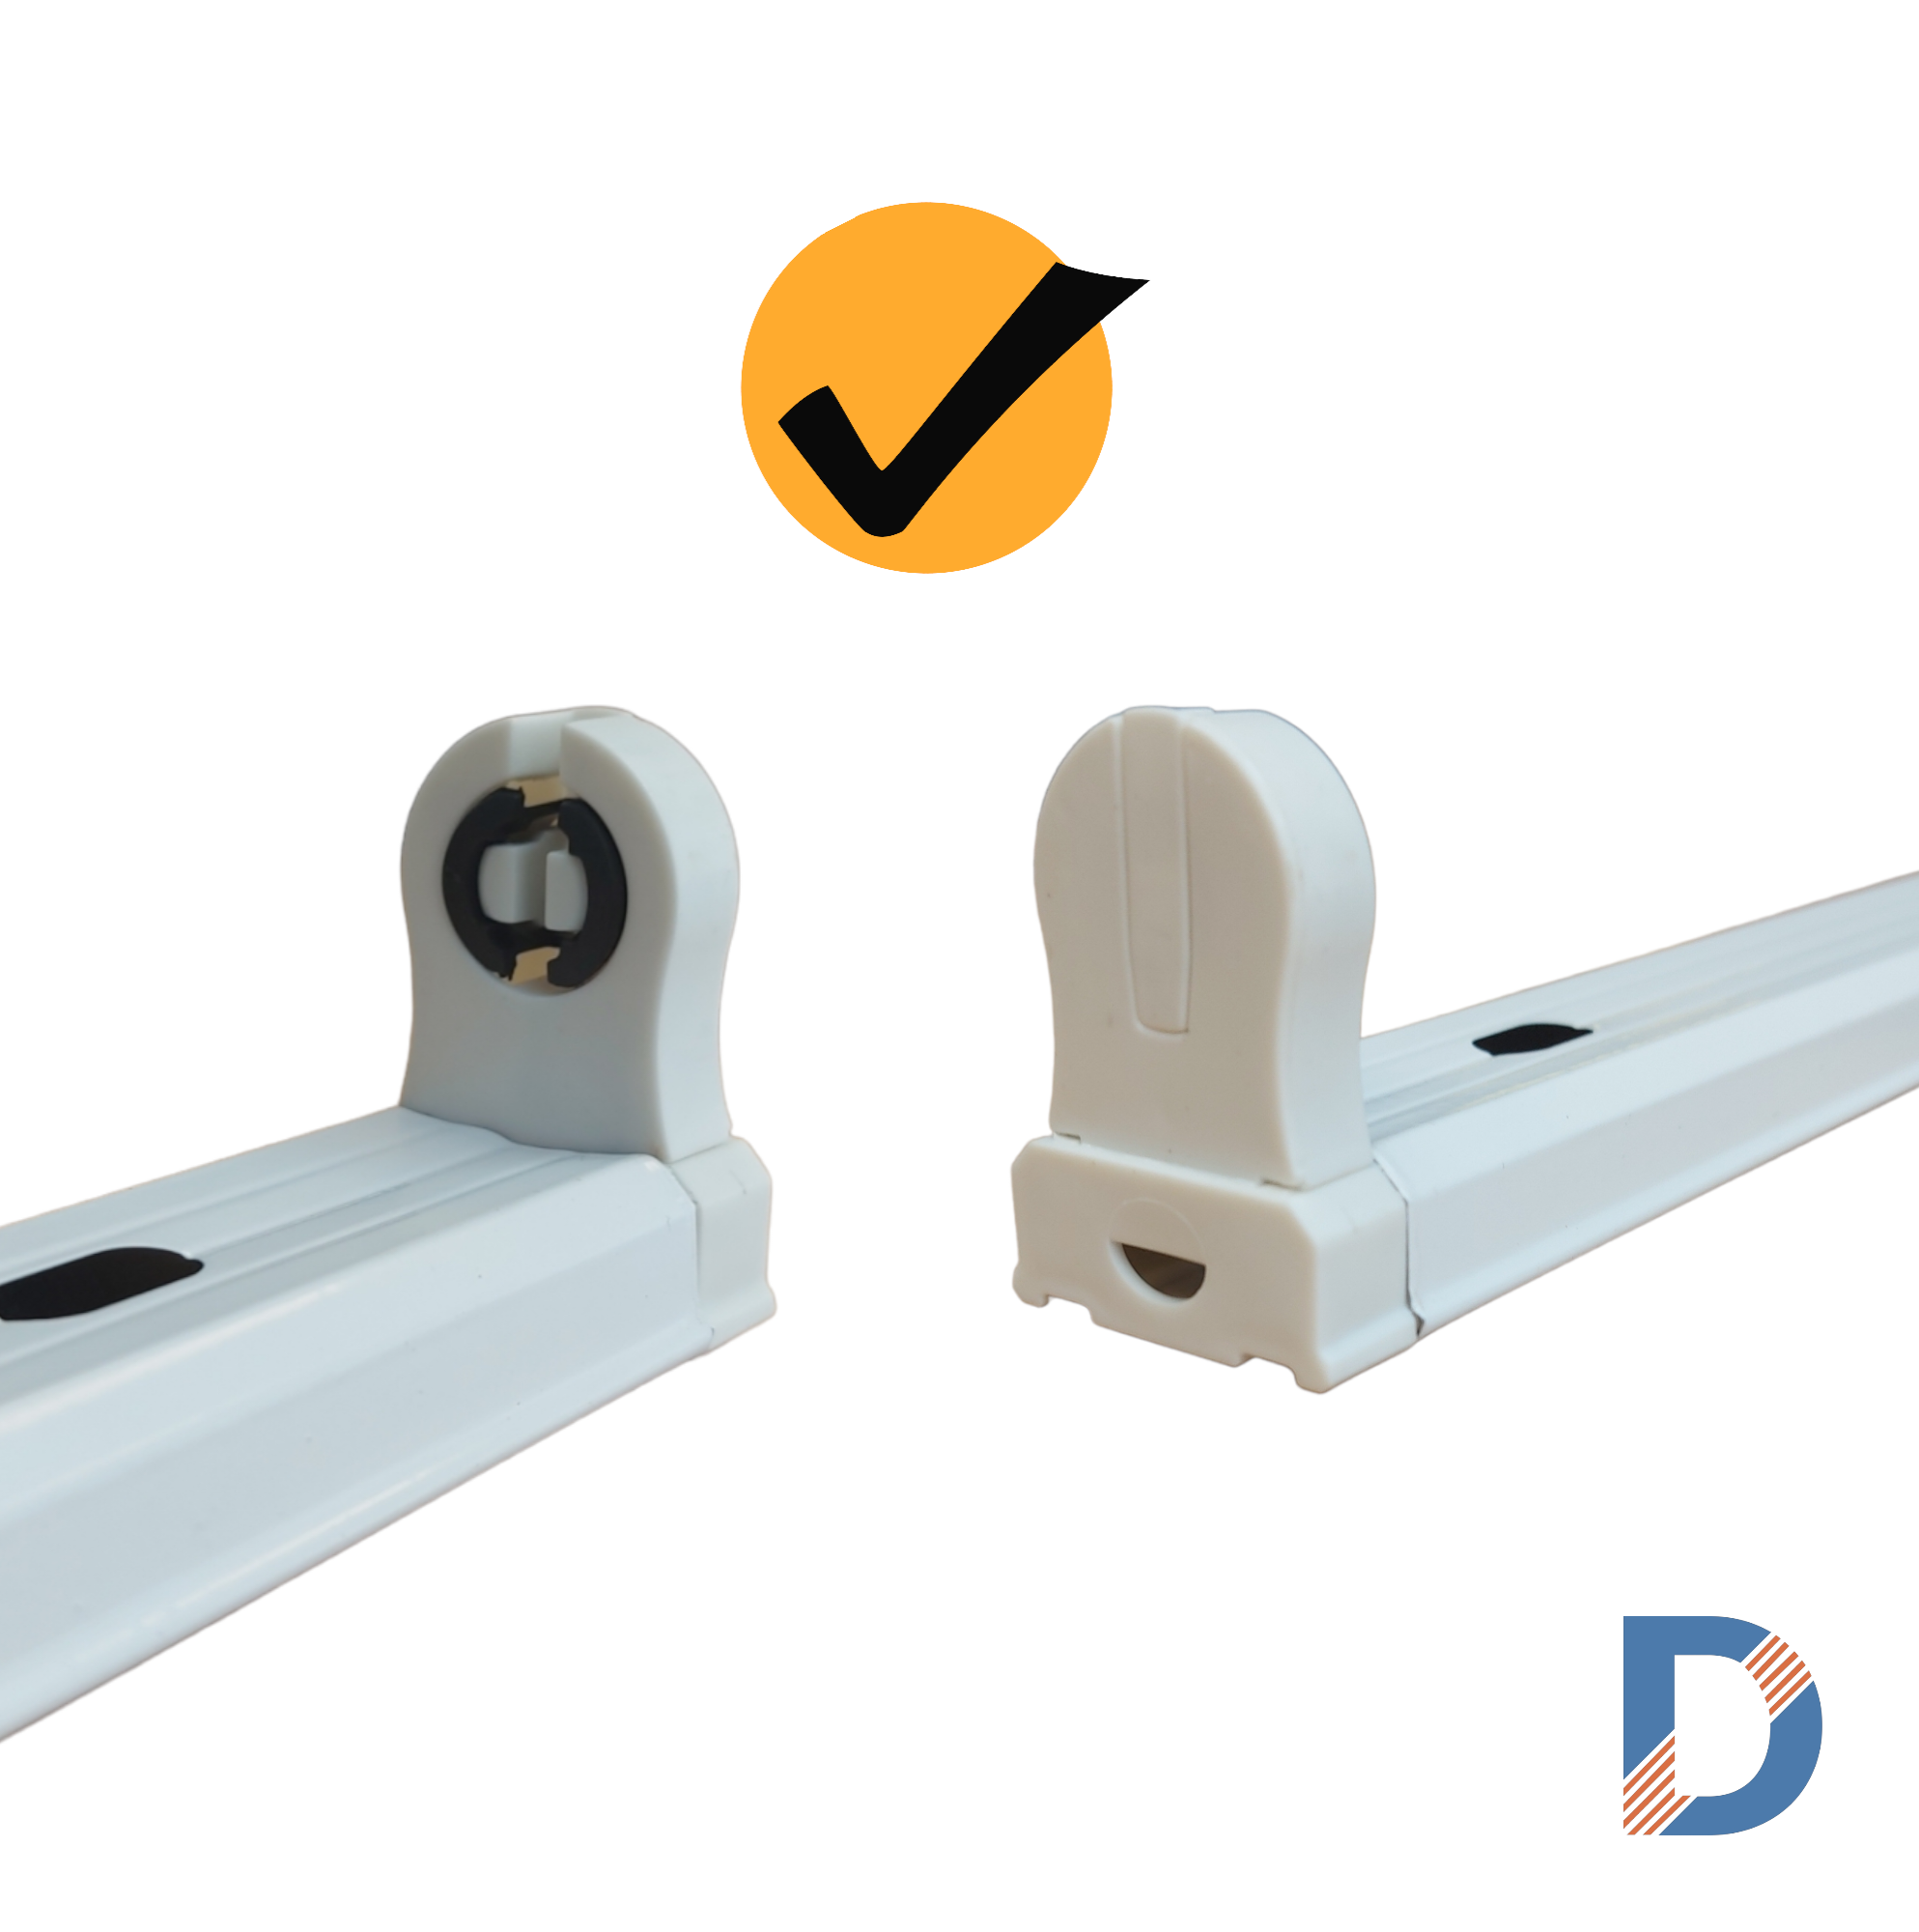
Instruction for rail LED tube installation
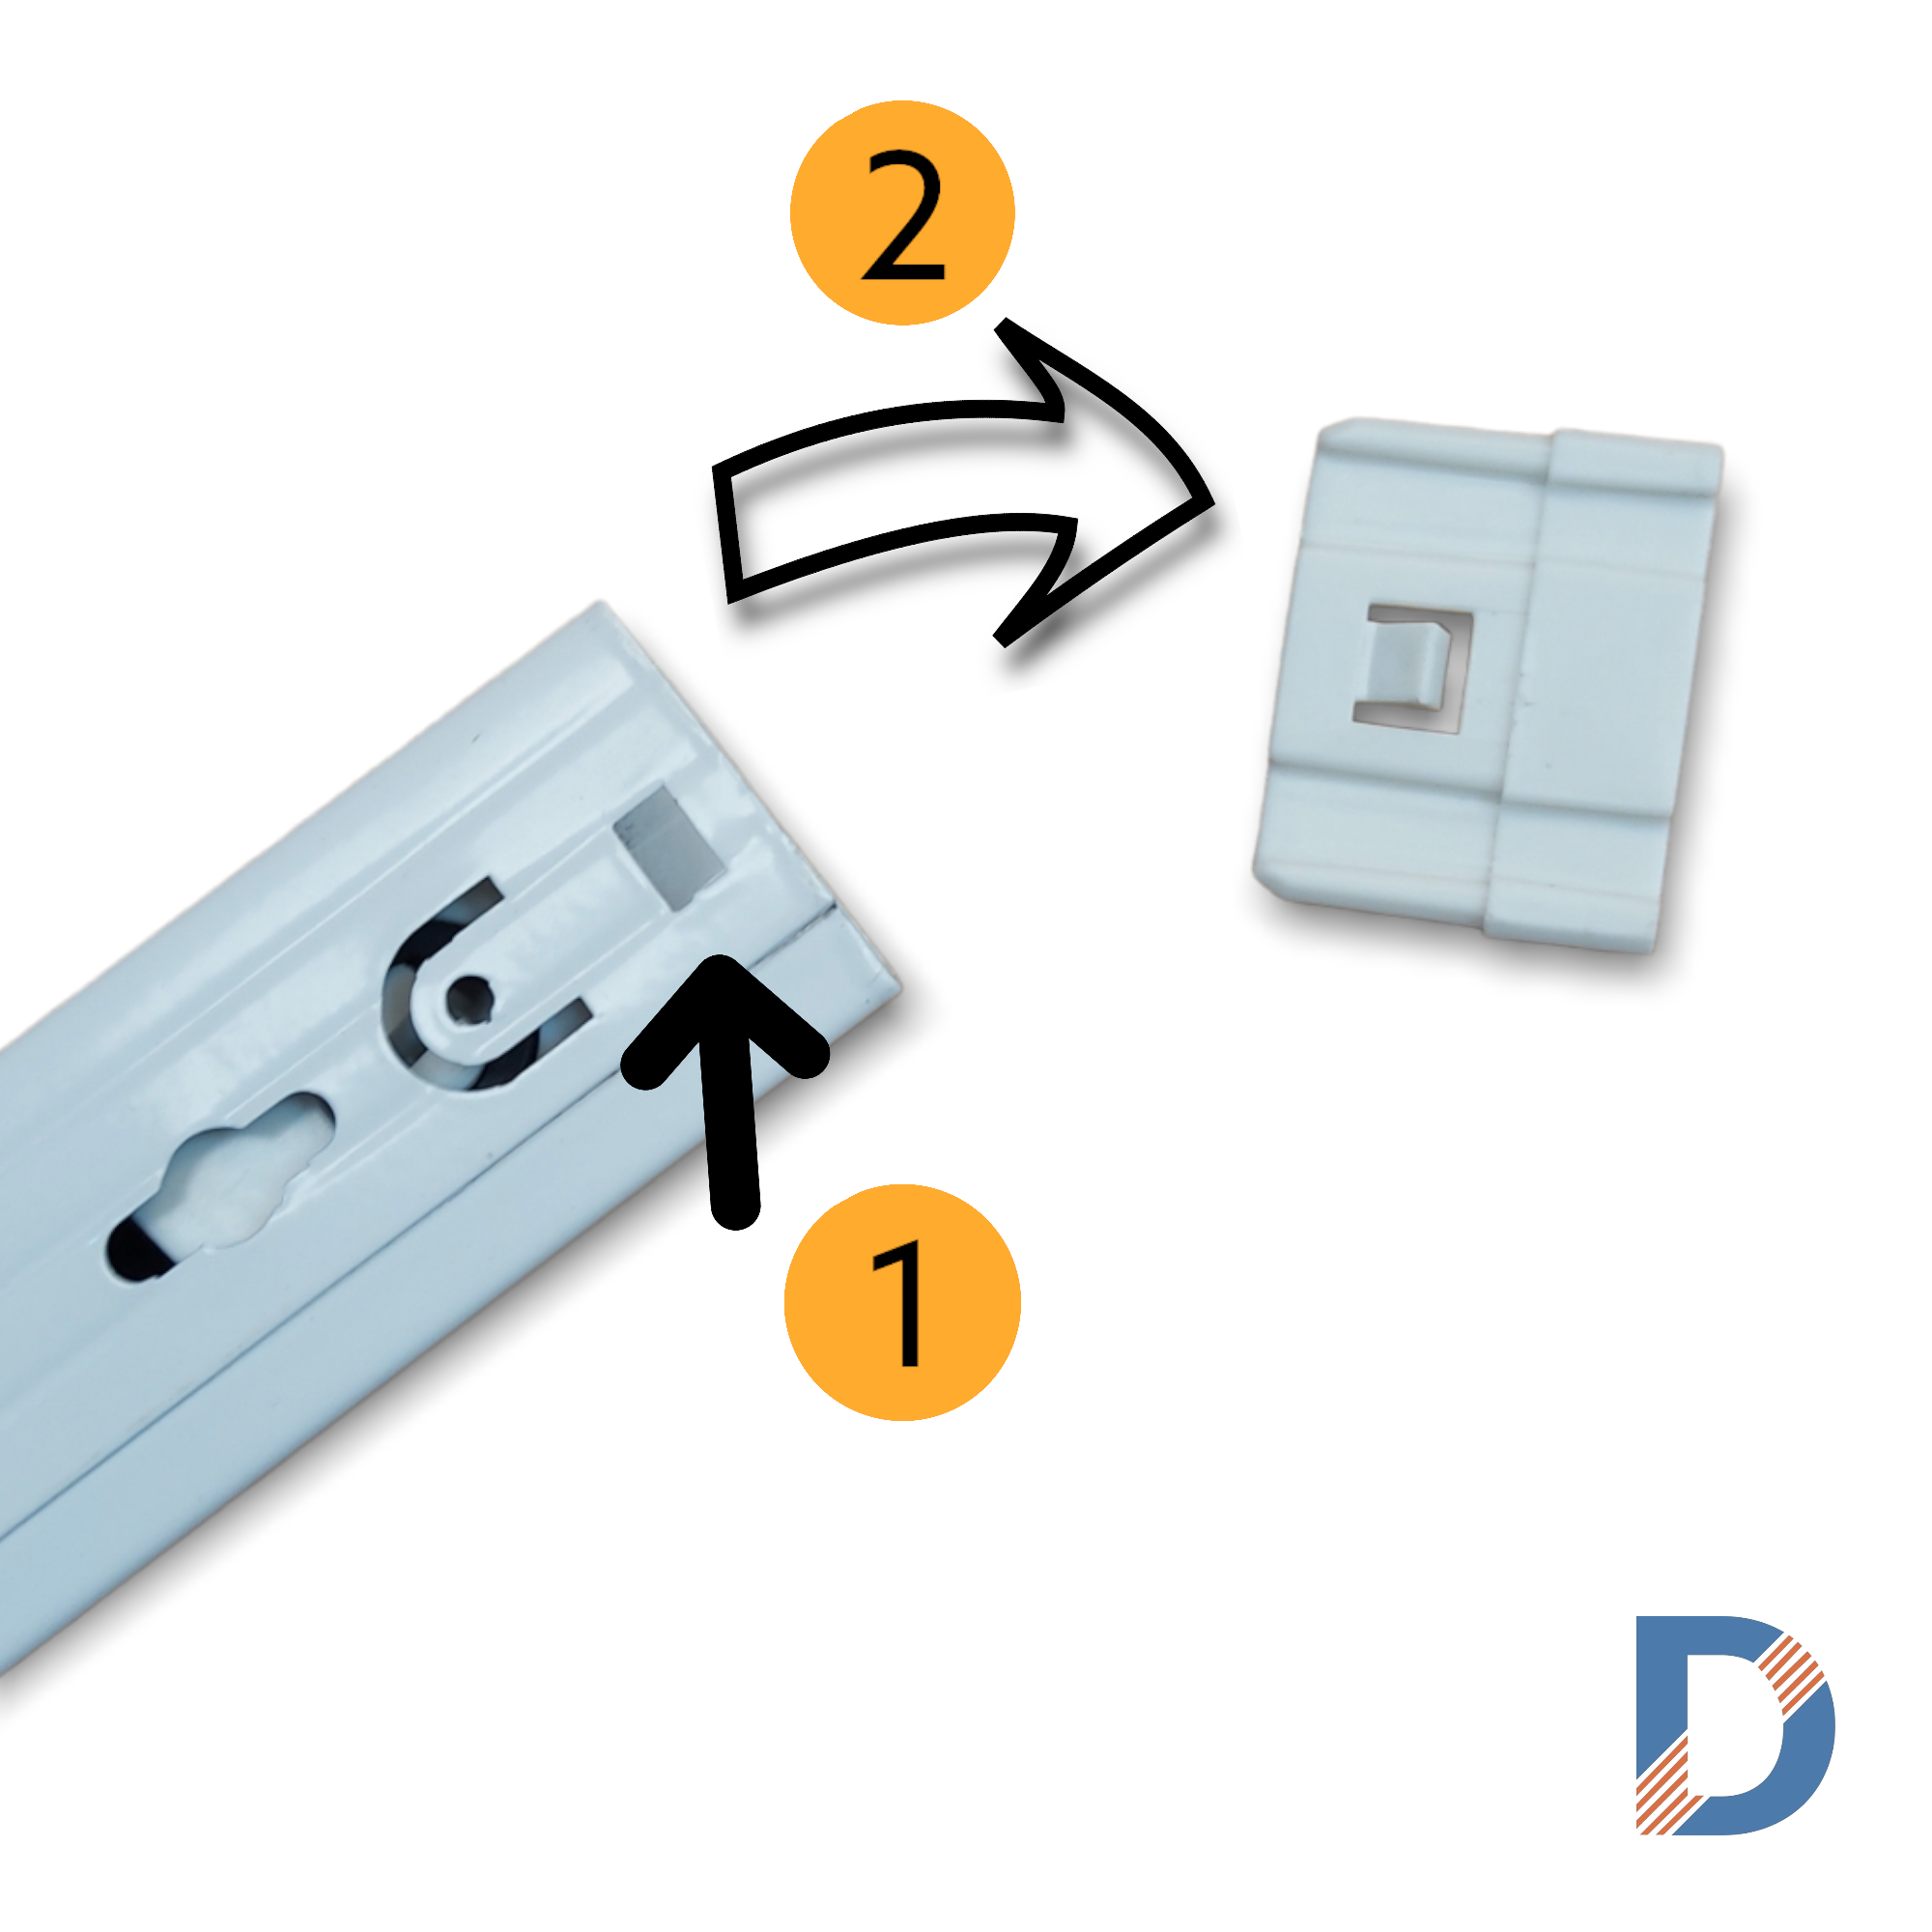
Step 1: Press the closing mechanism to release the cap
Step 2: Pull the cap
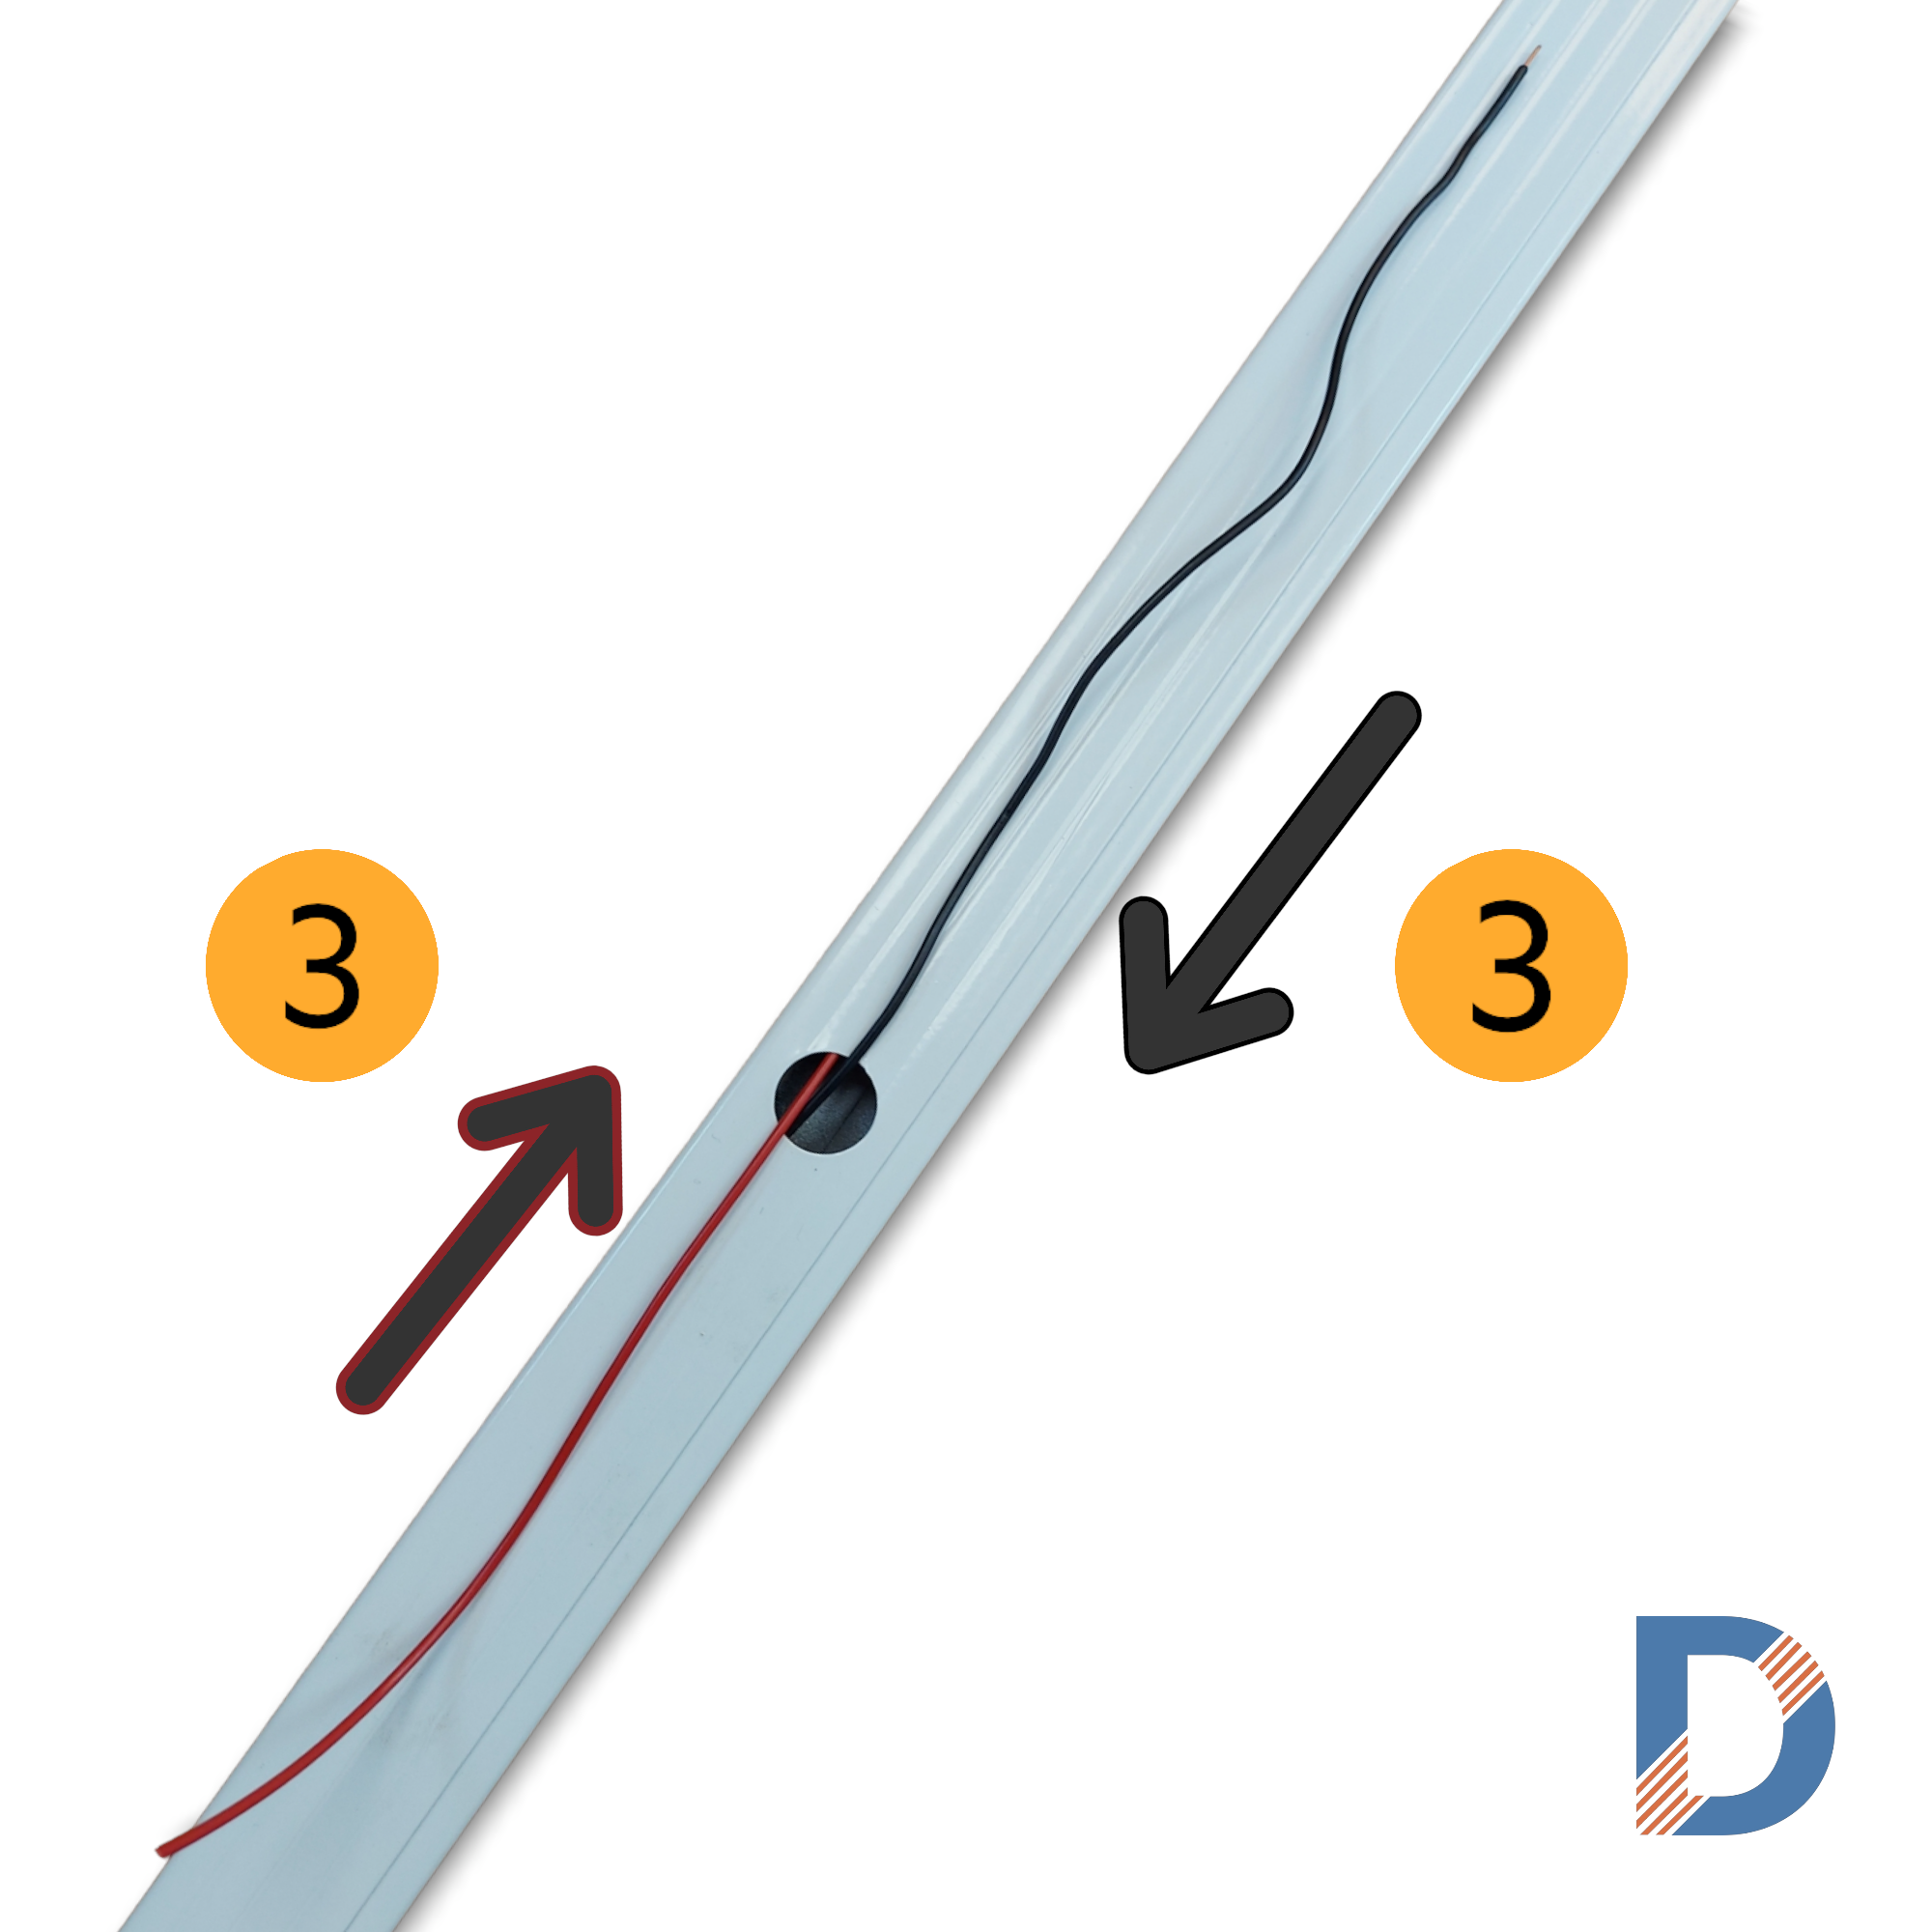
Step 3: Push the cables from the both sides to release the pattern
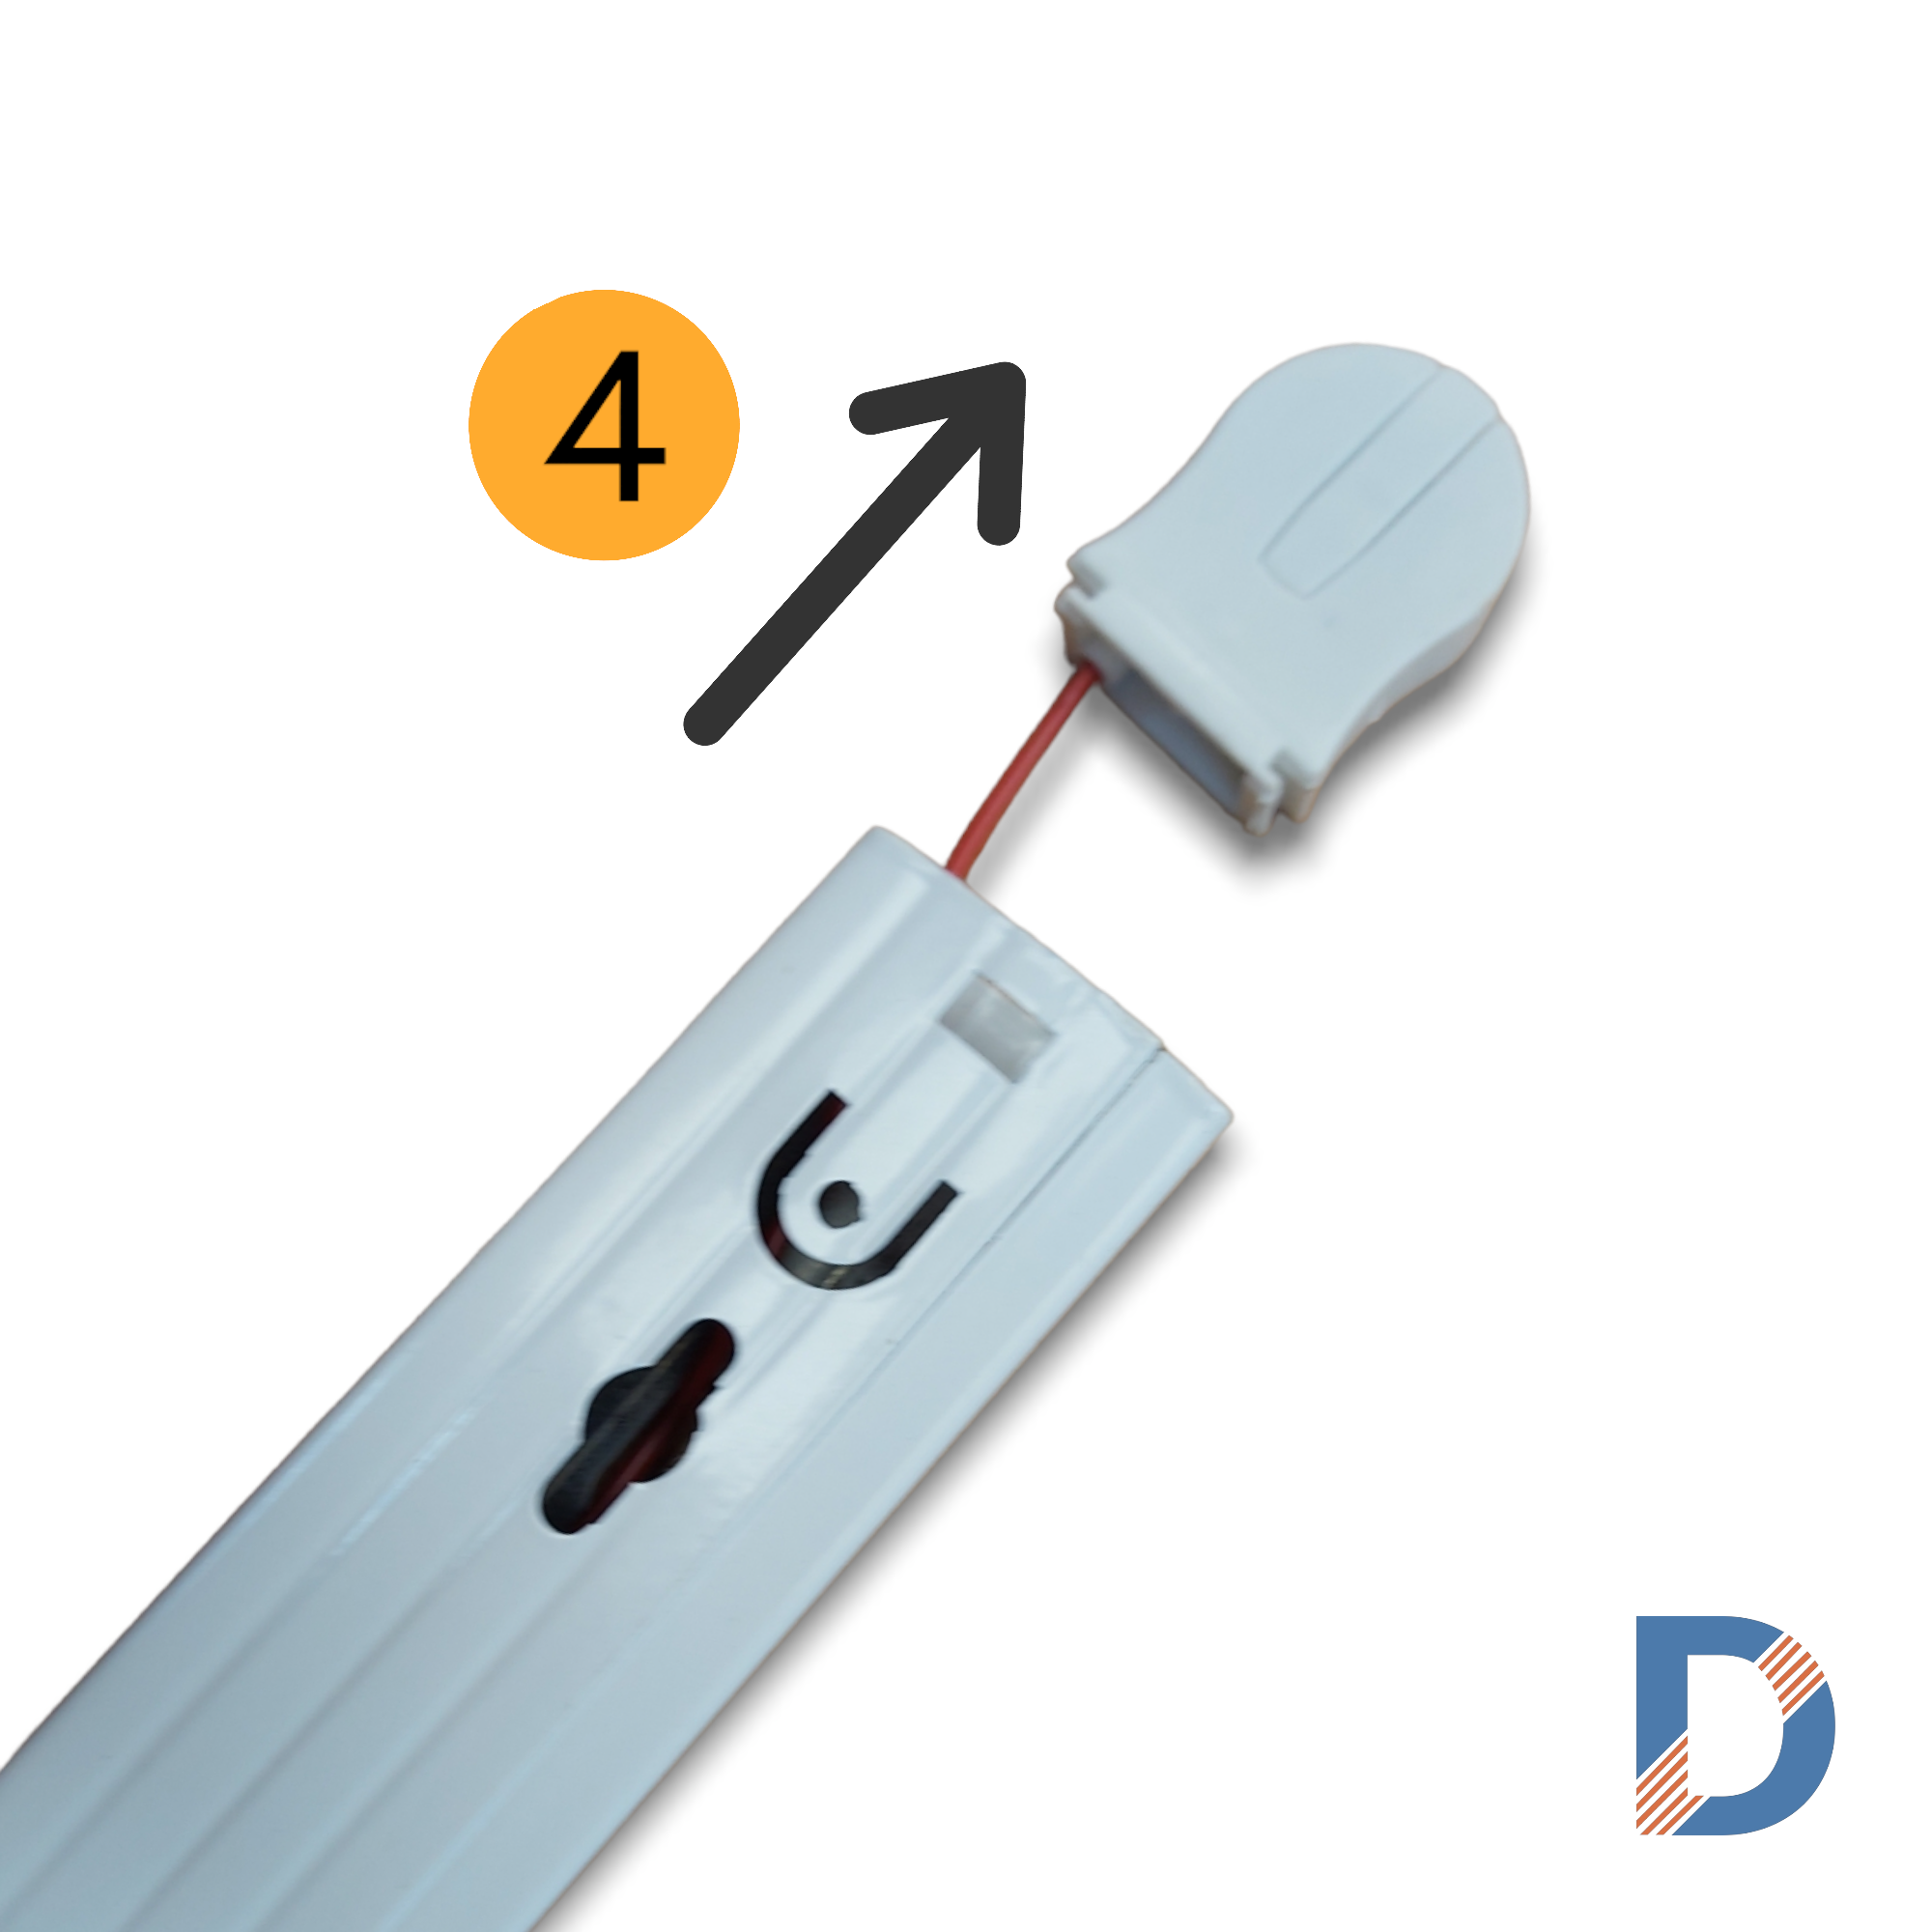
Step 4: Remove the pattern
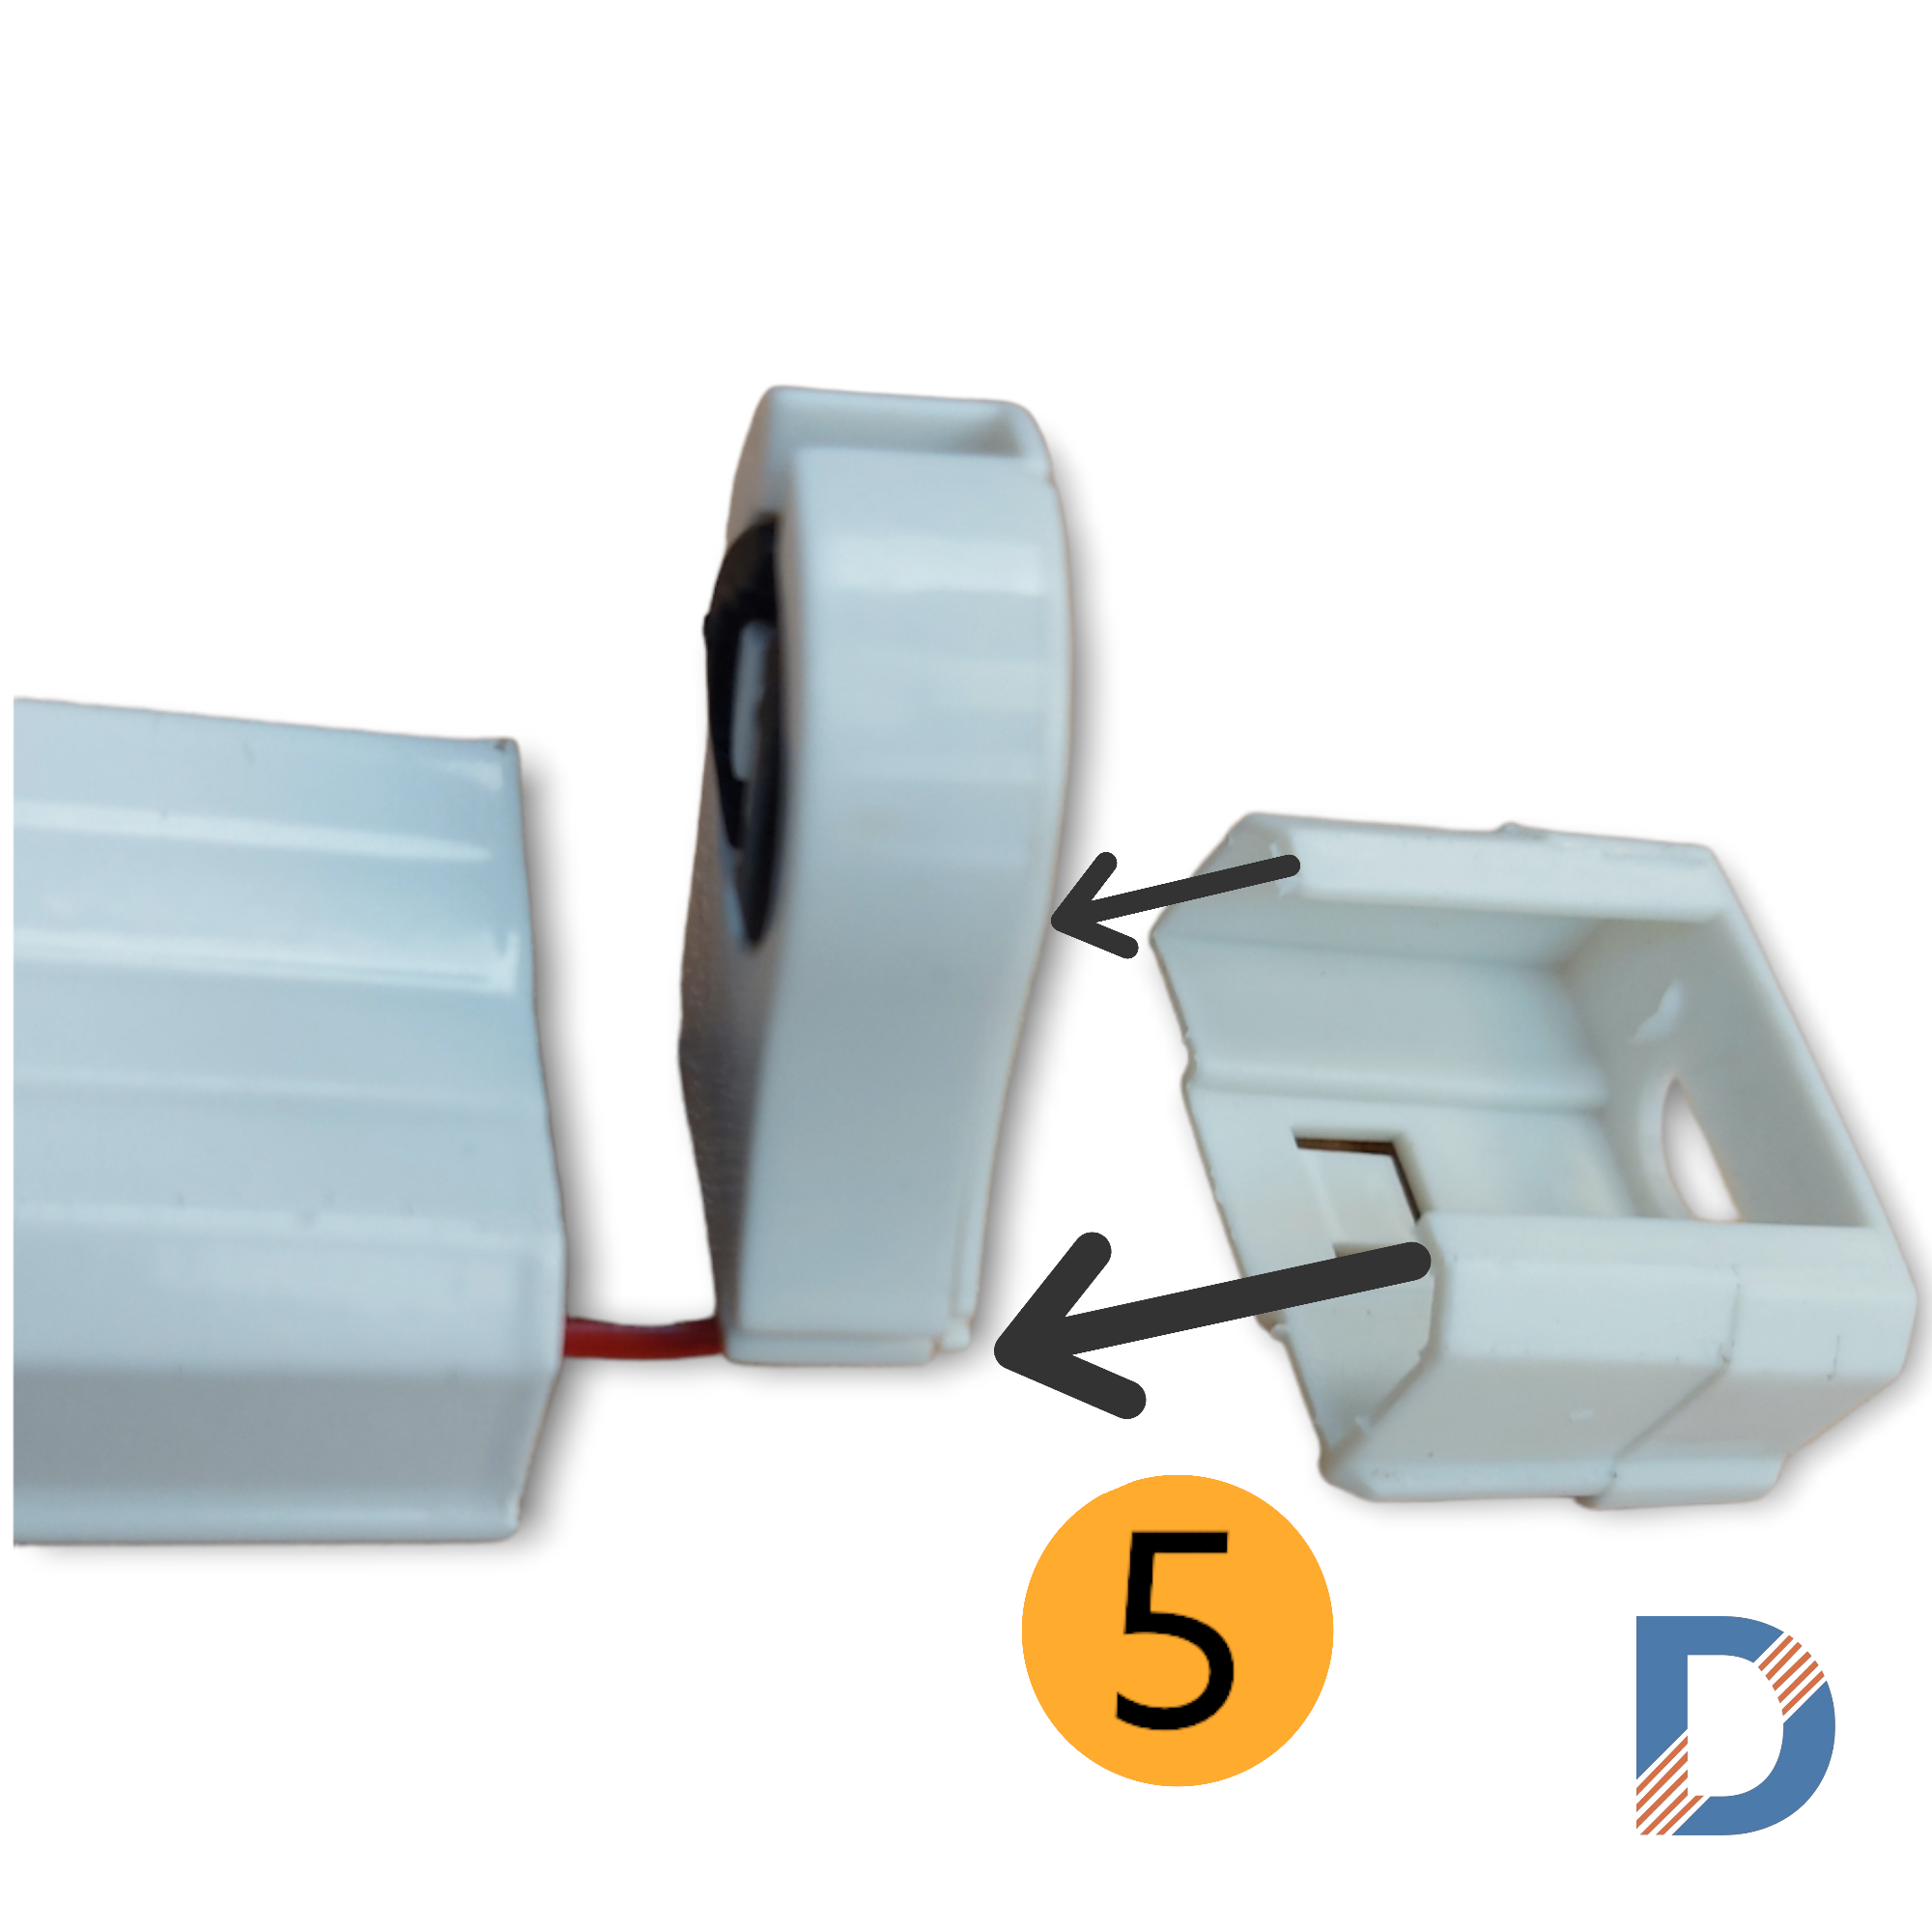
Step 5: Attach the cap to the outside of the pattern
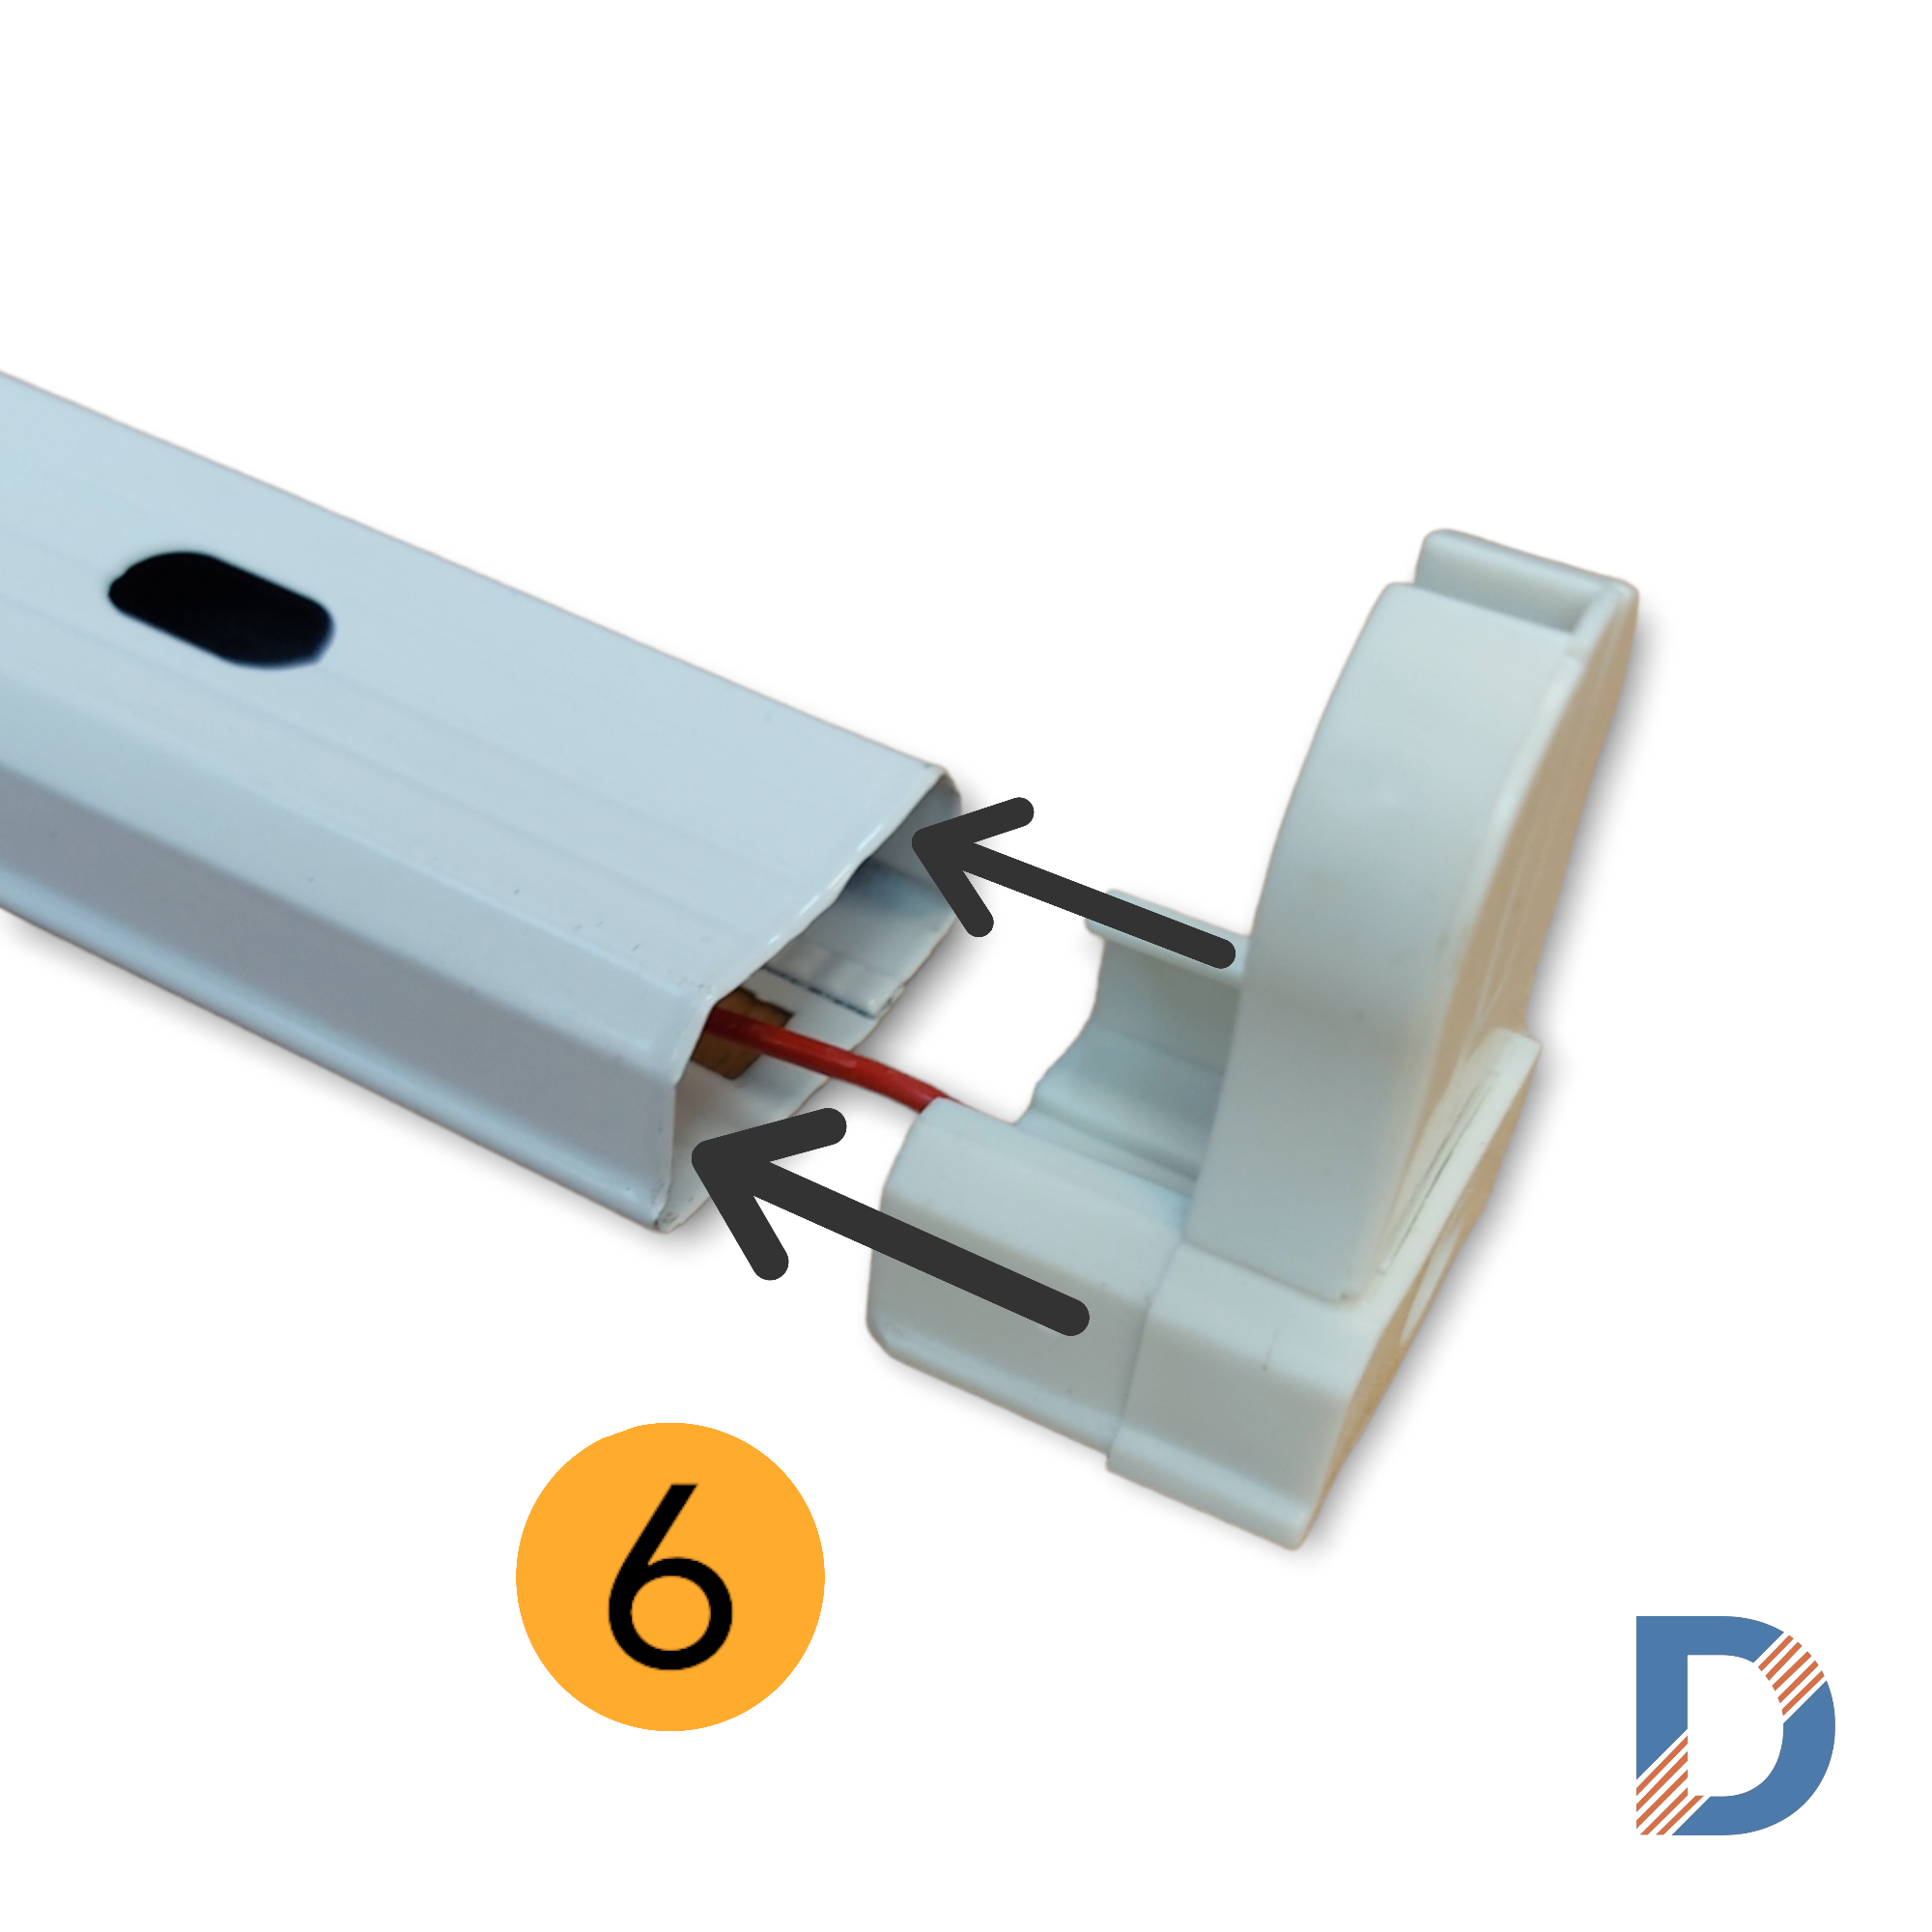
Step 6: Install by sliding of the rail
Finished result
